Meta setup · 2026
How to set up Meta glasses, from the box to your first photo
Setting up Meta glasses comes down to seven steps: charge, install the Meta AI app, sign in, pair from the case, update, allow a few permissions and test a photo. This is the first-day checklist for iPhone and Android, built from Meta's own help pages, with the fixes for the step where setups stall.
Still deciding? Get the M08 and M02C comparison in your inbox, with your new-customer price already applied.
One email with the comparison, one follow-up a few days later. Unsubscribe any time.
1. What you need before you start
Meta’s help center lists four things for AI glasses: a supported smartphone (Android 10 and above with location services enabled, or iOS 14.4 and above), a valid Meta Account, the Meta AI mobile app and wireless internet access (checked November 12, 2026). Meta renamed its earlier companion app, so if an older guide tells you to download “Meta View”, the app you want today is Meta AI, from the App Store or Google Play.
| Step | What to do | Per Meta’s help center |
|---|---|---|
| 1. Charge | Remove the case’s plastic tab, dock the glasses, charge at least an hour | Or until the case LED is green |
| 2. App and account | Install the Meta AI app, sign in with a Meta Account | App Store or Google Play |
| 3. Pair | Glasses on, in the case, case LED flashing blue, then Glasses → Add | Hold the case button 5 seconds if it does not start |
| 4. Update | Glasses → Device settings → your glasses → Updates → Check | Needs Wi-Fi |
| 5. Permissions | Bluetooth on; allow photos and, where asked, location | Location is needed for Wi-Fi features on some phones |
| 6. Test | Press the capture button once, then try the voice command | White LED blinks on capture |
| 7. Import | Check auto-import, or tap Import next to Photos | Phone Bluetooth and Wi-Fi on |
One scope note. Meta publishes separate pages for the Meta Ray-Ban Display, including a reset page, so if you own the Display, follow those instead; the steps below are the standard flow Meta describes for its AI glasses.
2. Charge the glasses and the case first
Meta’s pairing-fix page says to charge the glasses for at least one hour, or until the charging case LED is green, before you try to pair.
- Remove the plastic tab. The first time you charge, Meta says to take the protective plastic tab off the metal charging connections on the case.
- Dock the glasses correctly. They charge only when the nose bridge sits on the charging port inside the case. Close the case; the case LED blinks to confirm charging. If it does not light at all, Meta says to clean the contacts on the nose bridge and in the case and dock again.
- Charge the case over USB-C. Meta says a USB-C to USB-C or USB-C to USB-A cable works with any adapter rated 5 W or more; lower-wattage adapters may charge more slowly.
- Read the LED. With the glasses docked, press the button on the back of the case: solid green means the glasses are fully charged, solid orange means charging, blinking red means a charging error.
If the case LED stays dark, see our charging guide.
3. Install the Meta AI app, sign in and pair
Pairing is short when the glasses are charged: Meta’s pairing page has you turn the glasses on, dock them, wait for the case LED to flash blue, then add them in the app (steps checked November 12, 2026). The order matters.
- Install and sign in. Download the Meta AI app from the App Store (iPhone) or Google Play (Android) and log in with your Meta Account. The Android and iPhone flows are the same from here; only the phone requirements differ.
- Turn the glasses on. Take them out of the case and slide the power button on the left frame towards the front of the glasses.
- Dock them. Put the glasses back in the case and gently push down on the top so the bottom of the nose bridge touches the charging port. Meta suggests waiting about 45 seconds after docking powered-on glasses before you start.
- Wait for blue. When the case LED flashes blue, the glasses are ready to pair. If they do not go into pairing mode on their own, press and hold the button on the back of the case for at least 5 seconds.
- Add them in the app. In the Meta AI app, tap Glasses in the top right, then Add, and follow the on-screen prompts.
Start from the app, not from your phone’s Bluetooth list. Meta says to always pair from the app, and that glasses can only pair with one Meta Account at a time, so a second person needs a factory reset before pairing their own account. If you are on an iPhone and want the iPhone-specific walkthrough and reset, see how to connect Meta glasses to an iPhone.
4. Check for updates and review settings
Updates are automatic by default, and you can also check by hand. Meta’s update page says the Meta AI app notifies you of software updates for the glasses or the app and downloads them automatically. To check manually, tap Glasses in the top right, then Device settings, your glasses, Updates, and Check. The same screen has a toggle for automatic updates.
Updates need Wi-Fi, so do this step on your home network rather than on mobile data. Our update guide covers what to do when an update stalls.
5. Permissions to allow
Three permissions matter on day one: Bluetooth, photo access and, on some phones, location. Meta’s location-services page says location permission is required to connect to your glasses over Wi-Fi on certain Android versions and iOS devices, for features such as media import and glasses updates, and also for geotagging and navigation.
- Bluetooth.Keep it on. Meta’s checklist asks for Bluetooth on and an active Wi-Fi connection before you pair.
- Photos.The app shows your captures by reading your phone’s photo app with your permission. Meta warns that if you revoke that permission or delete the imported media from your phone’s photo app, it may not appear in the app’s Photos.
- Location.Meta’s requirements list Android 10 and above “with location services enabled”. You can change location access any time in your phone settings.
6. Take your first photo and try a voice command
A single press of the capture button takes a photo, and a press and hold records a video. Meta’s capture page says the white notification LED blinks and a sound plays when you take a photo, and the LED stays on while you record; press again to stop. The LED exists so other people can see when the glasses are capturing, so do not cover it.
For a first voice test, Meta lists three commands: “Hey Meta, take a photo”, “Hey Meta, take a video” and “Hey Meta, stop”. Meta also says that even when the glasses are not connected to the app, you can capture photos and videos and use some voice controls, but Meta AI itself needs Wi-Fi. For the full control list, see how to use Meta glasses.
7. Wi-Fi, auto-import and getting captures to your phone
Captures stay on the glasses until they are imported to your phone. Meta says media must be imported to the Meta AI app before you can view or share it, that it is transferred to your phone’s photo app and that it is removed from the glasses during import. Photos arrive as JPEG on Android or HEIC on iOS, and videos as MP4 on Android or HEVC on iOS.
- Auto-import.Meta says it is on by default for Android 13+ and iOS phones. It runs when the glasses are switched on and in the case or with the hinges closed, with your phone’s Bluetooth and Wi-Fi on. Meta suggests keeping more than 30% battery available. Turn it off under Device settings, your glasses, Media.
- Manual import. If unimported captures are on the glasses, an Import button appears next to Photos under the Glasses tab.
- Where to look.Meta’s app page says imported photos can also be found in a Meta AI folder in your phone’s gallery; update any cloud backup to include that folder.
Import before any factory reset: Meta says a reset deletes all photos and videos on the glasses.
8. If pairing fails
Meta says the usual causes are charge level, phone Bluetooth, or an earlier pairing to a different phone, and to work through its checks in order. The sequence, as Meta’s pairing-fix page gives it (checked November 12, 2026):
- Confirm the Meta AI app is up to date, Bluetooth and Wi-Fi are on, and the glasses are charged and in the case with the power on.
- Hold the pairing button on the back of the case for 5 seconds and release when the LED pulses blue. If it never turns blue, factory reset the case.
- If the glasses appear in your phone’s Bluetooth list, forget them, then pair again from the app.
- Delete the Meta AI app and reinstall it.
- Factory reset the glasses, which is also the step for glasses previously paired to another phone.
If the LED on the glasses blinks white continuously while pairing, Meta says to force restart the glasses and start again from the app. For the glasses reset, Meta says to take them out of the case charged and on, close both arms, press the capture button 5 times until the LED turns orange, then press and hold it and release when the LED flashes. The case resets by holding its back button for more than 16 seconds. More fixes are in Meta glasses not connecting; if nothing works, Meta points to Meta Store Support.
9. If you would rather skip the account
The Meta account is the one setup step that is not about the hardware. If you prefer camera glasses without a Meta, Facebook or Instagram account, OXIVUE publishes this page and sells an alternative, so weigh that. OXIVUE glasses pair with a free companion app that does not need any of those accounts, and the trade-offs are real: they are not Meta products, so there is no Meta AI, and they have no display and no prescription lens option.
- M08, $99 at checkout (listed $149). 8 MP camera, about 42 g, 7 hours listening and 4 hours of calls, sun, photochromic or clear lens. The photochromic lens darkens in UV and is close to clear indoors. No published water rating.
- M02C, $109 at checkout (listed $159). Sony IMX219 8 MP with dual stabilisation, IP65 (dust and water jets, not immersion), about 41 g, magnetic charging.
Capture starts only with a touch on the temple, and the companion app handles translation (40+ languages), the assistant and your files. Two or more pairs in one order are 50% off all eyewear. See smart glasses without a Meta account for what an account requirement binds, or compare every model on the comparison page.
Shipping, refunds and warranty. Free shipping from $99. US orders typically arrive in 5–9 business days; international orders take 9–14 business days. OXIVUE does not offer refunds except for an order damaged in transit, which is replaced or refunded. Faults after delivery are covered by the 2-year warranty through repair or replacement. None of our frames take prescription lenses. Compare every model on the comparison page.
Frequently asked questions
Can I set up my Meta glasses without the app?
No. Meta's help page says you must first pair AI glasses to your phone using the Meta AI app, so the first setup always needs the app on a supported phone. After pairing, Meta says you can still take photos and videos and use some voice controls when the glasses are not connected to the app. You still need Wi-Fi for Meta AI, for importing captures and for installing updates.
How do I set up Meta glasses on Android?
The steps match iPhone, with different phone requirements. Meta lists Android 10 or above with location services enabled (iOS 14.4 or above on iPhone). Install the Meta AI app from Google Play, sign in with your Meta Account, turn the glasses on, put them in the case until the case LED flashes blue, then tap Glasses and Add in the app. On some Android versions, Wi-Fi features need the location permission.
Do I need a Meta account to set up Meta glasses?
Yes. Meta's list of what you need for AI glasses includes a valid Meta Account, the Meta AI mobile app, a supported smartphone and wireless internet access. The glasses can only pair with one Meta Account at a time, so a second person needs a factory reset first. If you would rather not use a Meta account at all, OXIVUE's companion app does not need a Meta, Facebook or Instagram account.
How long should I charge Meta glasses before pairing?
At least one hour, or until the charging case LED is green, according to Meta's pairing-fix page. The glasses only charge docked in the case with the nose bridge on the charging port, and the case charges over USB-C. The first time, remove the protective plastic tab from the metal charging connections on the case. Then wait about 45 seconds after docking powered-on glasses before you start pairing.
Why won't my Meta glasses enter pairing mode?
Usually the cause is charge level, the phone's Bluetooth, or an earlier pairing to another phone. Meta says to start from the app, not Bluetooth settings: hold the pairing button on the back of the case for 5 seconds and release when the LED pulses blue. If it never turns blue, factory reset the case. Forget the glasses in your phone's Bluetooth list, reinstall the app, then factory reset the glasses as a last step.
Can I use Meta glasses with a different phone?
Yes, after you unpair them. In the Meta AI app, tap Glasses, then Device settings, pick your glasses, tap General, then Unpair glasses and confirm. Meta notes that unpairing does not erase settings, and you may also need to choose Forget for the glasses in your phone's Bluetooth settings. Then pair from the app on the new phone. Import any captures you want to keep first.
Do Meta glasses need Wi-Fi?
For some things, yes. Meta says you can still take captures and use some voice controls without Wi-Fi, but you need Wi-Fi for Meta AI, to import your captures and to install updates. Meta's pre-pairing checklist asks for Bluetooth on and an active Wi-Fi connection on the phone. Auto-import also needs the phone's Bluetooth and Wi-Fi on.
Is there a camera-glasses pair that skips the Meta account?
Yes. OXIVUE's M08 camera sunglasses are $99 at checkout (listed $149) and pair through a free companion app that does not need a Meta, Facebook or Instagram account. They have an 8 MP camera, open-ear audio and no display, and they are not a Meta product, so there is no Meta AI. Capture starts with a touch on the temple, and translation covers 40+ languages through the app.
OXIVUE frames side by side
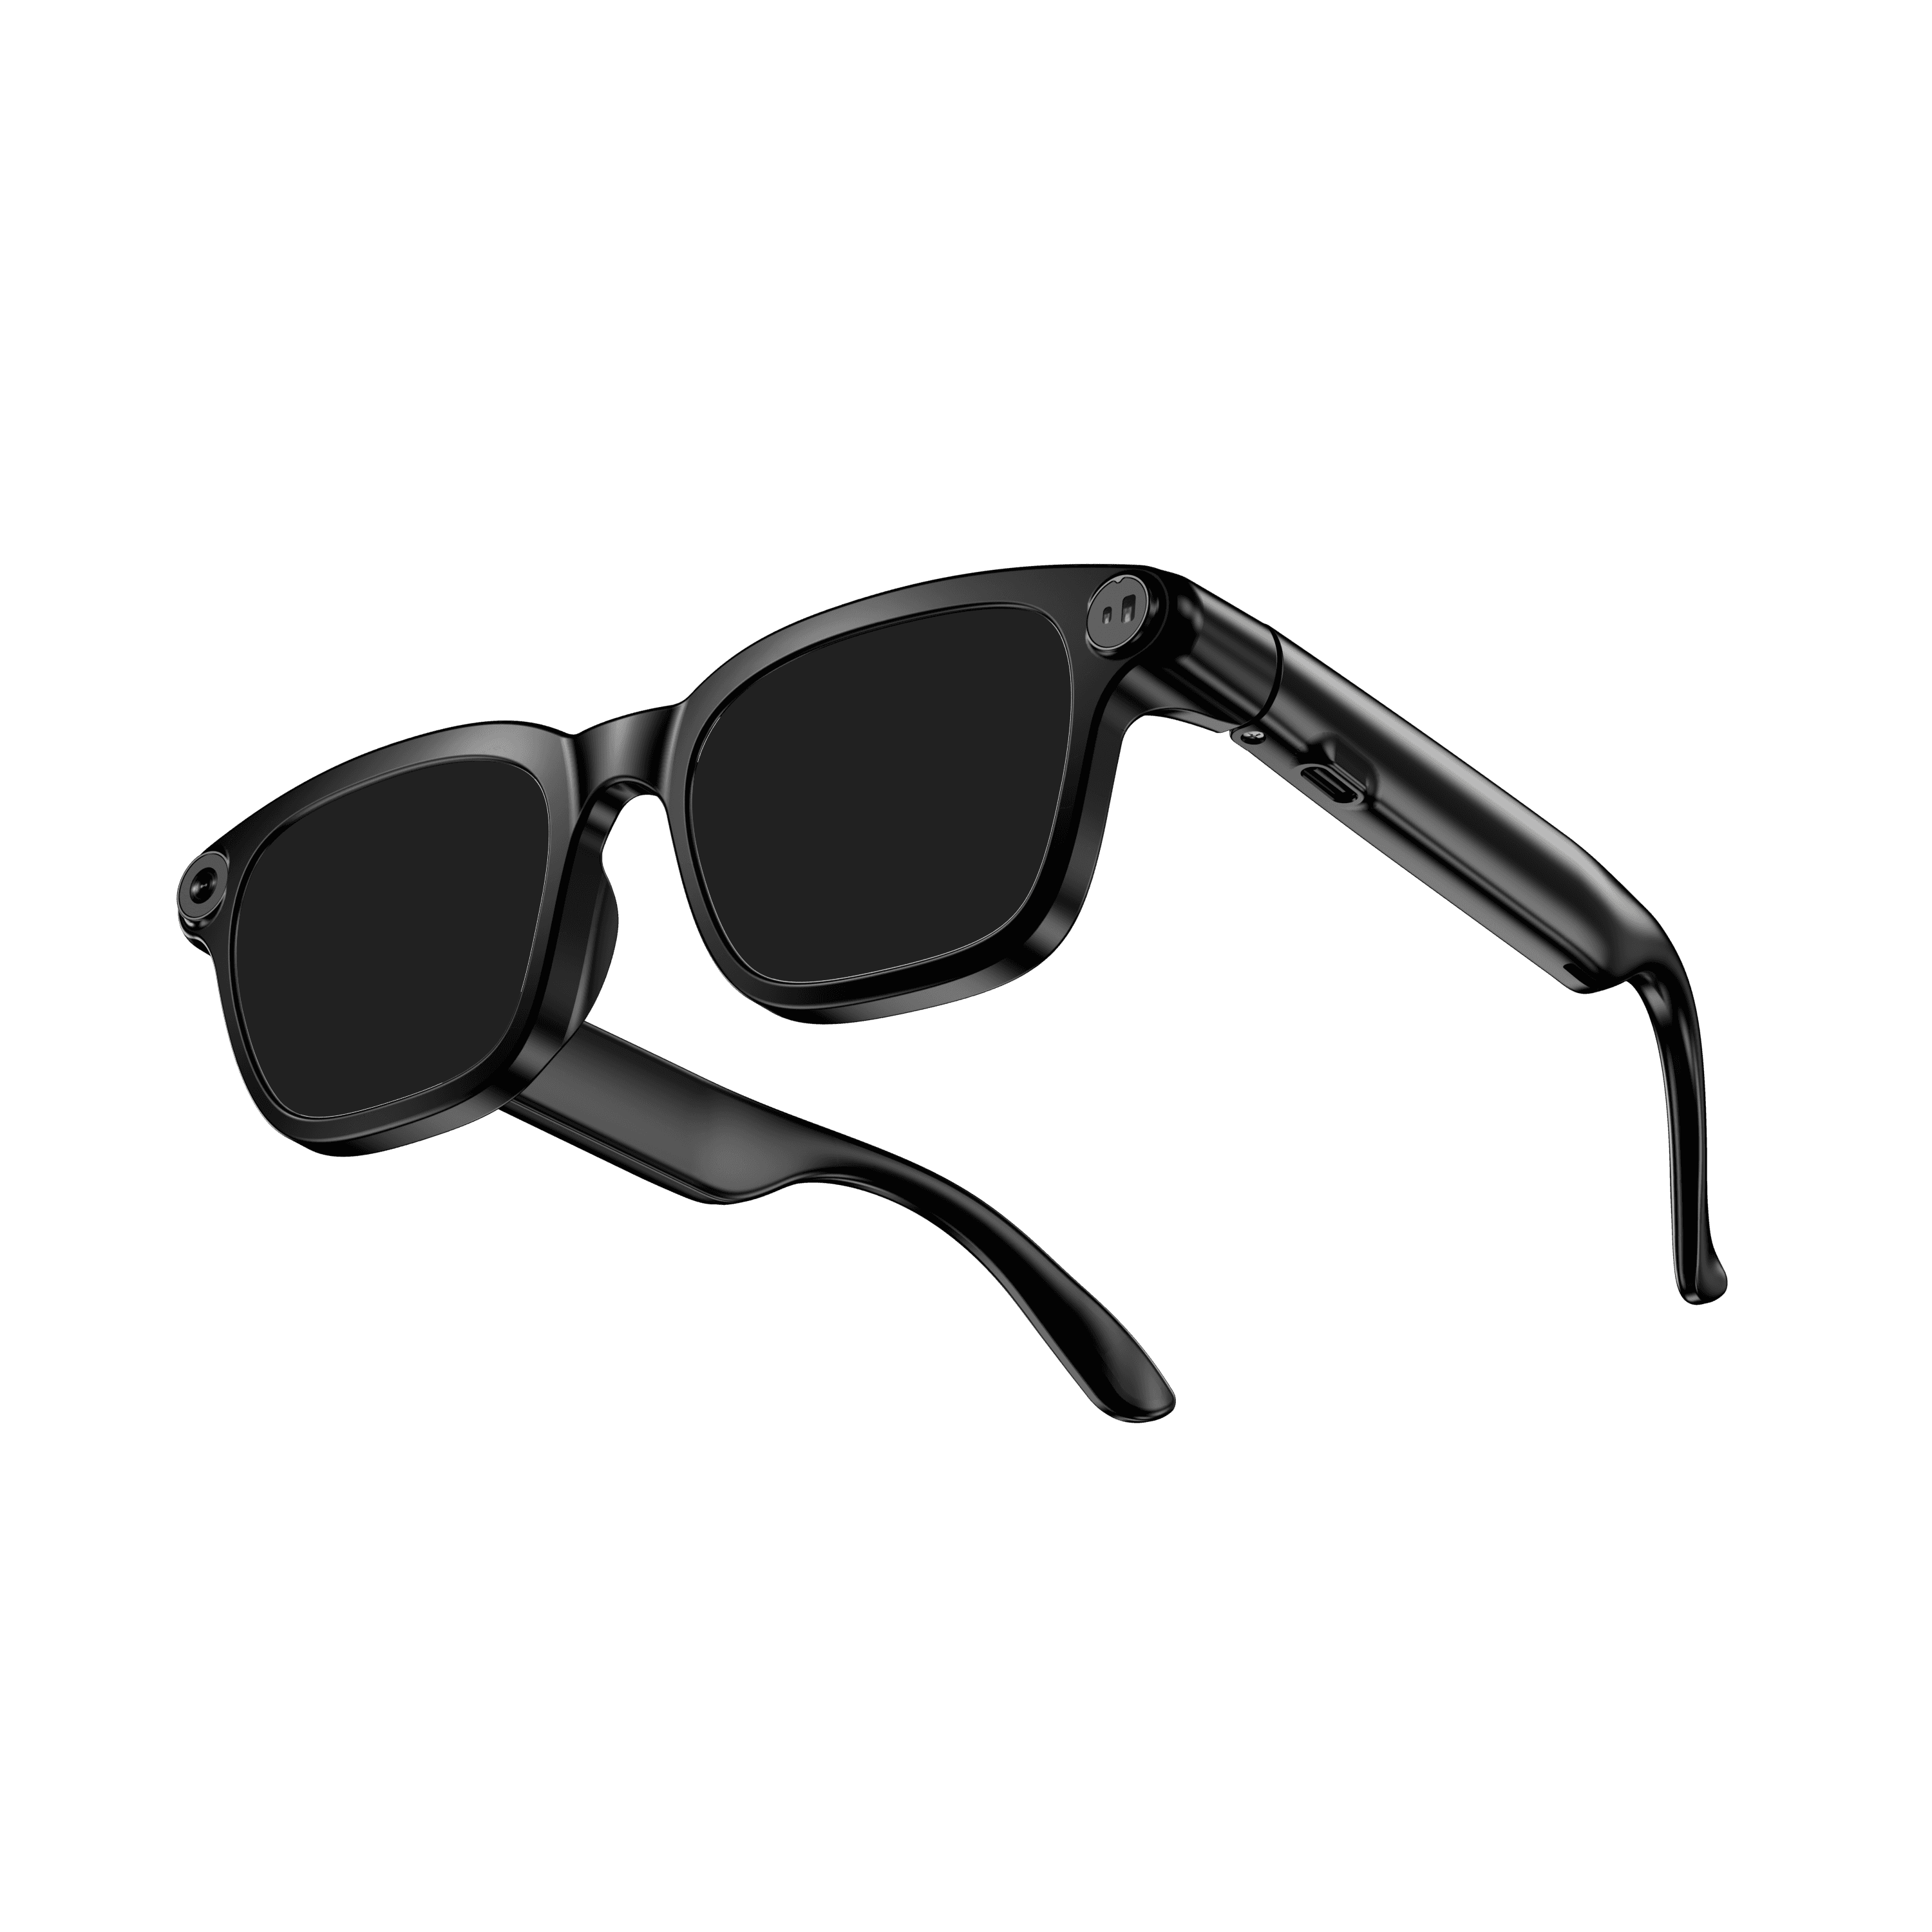 OXIVUE M08$99 at checkout | 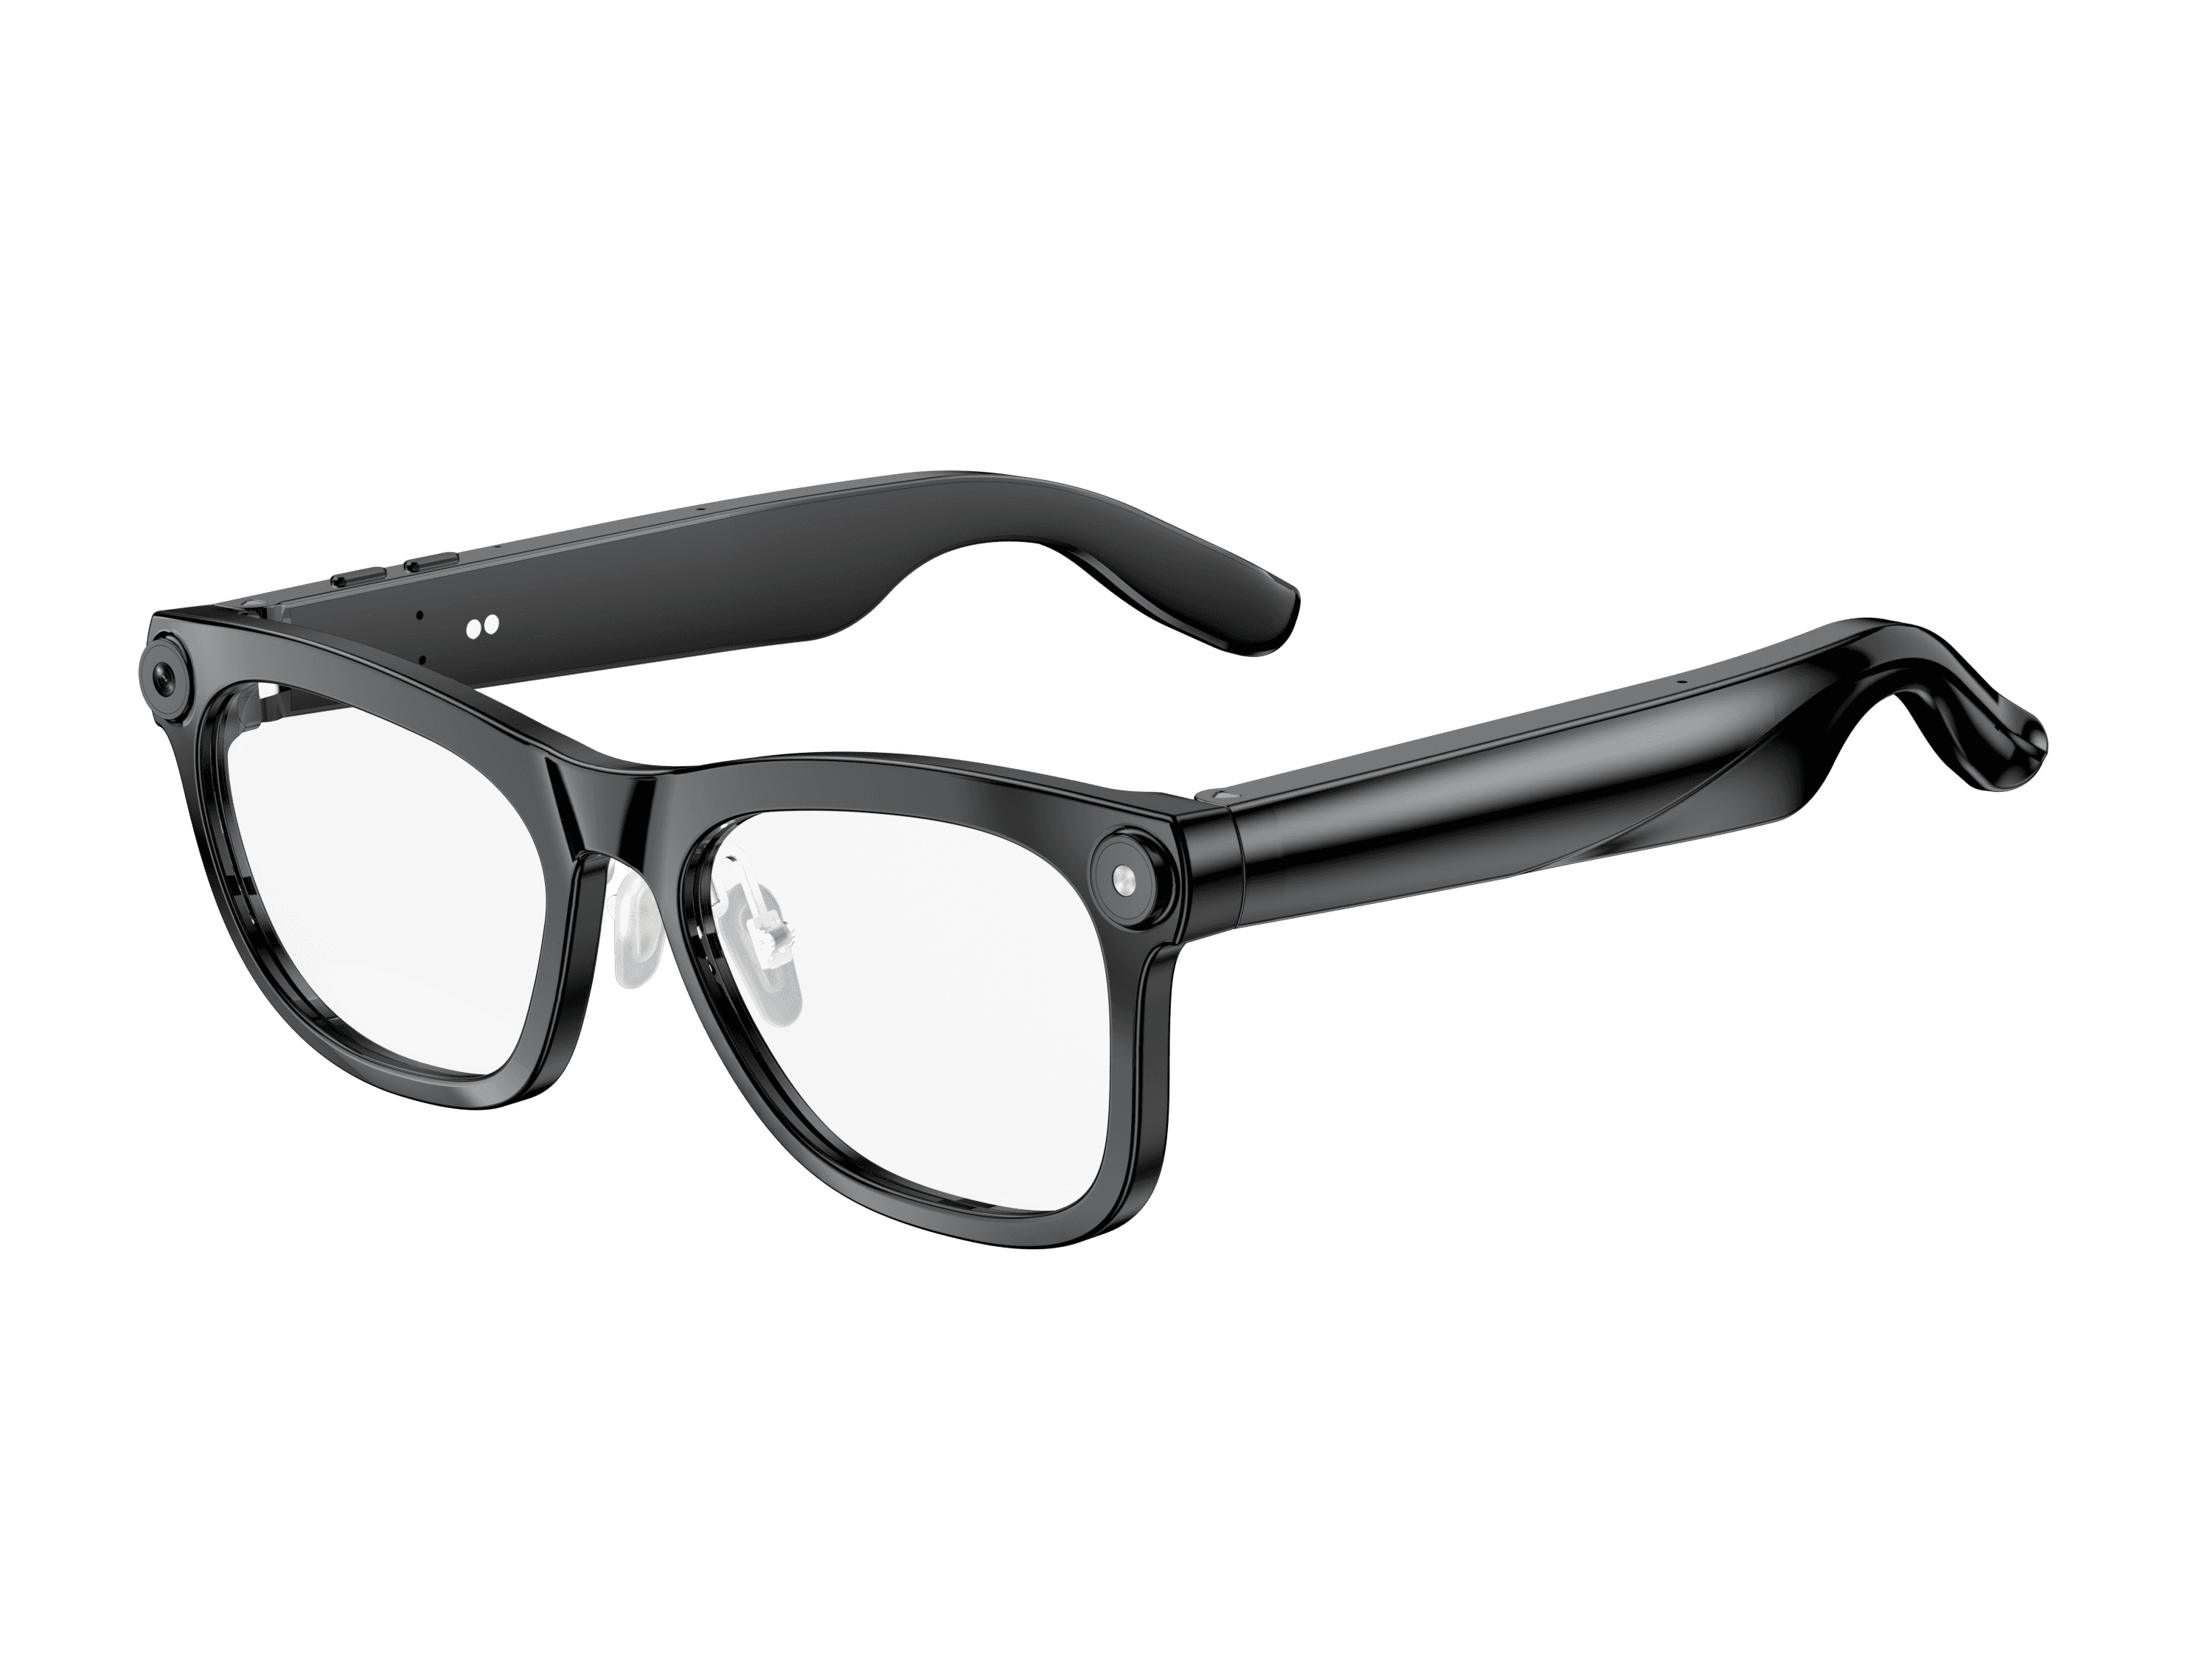 OXIVUE M02C$109 at checkout | |
|---|---|---|
| Camera | 8 MP | 8 MP |
| Weight | ~42 g | ~41 g |
| Water rating | — | IP65 |
| Lenses | Sunglasses · Photochromic · Clear | Sunglasses · Photochromic · Clear |
| Translation | 40+ languages | 40+ languages |
| Visual AI | — | Yes |
From each frame’s product page. Every model: open-ear audio, Bluetooth 5.4, no subscription. Full spec table
What these frames won’t do
- No prescription lenses yet, on any model. If you need vision correction all day, these can't replace your glasses.
- No display. Nothing appears in your view; you hear answers and capture photos and video.
- Open-ear speakers leak some sound at high volume and won't block out a loud train or a windy road the way sealed earbuds do.
- Translation, music, calls and the assistant need your phone nearby and connected. Translation pauses after each sentence, and only you hear the translated audio; the other person reads the reply on your phone.
- M08: no published water rating, so keep it out of heavy rain and spray.
- M02C: IP65 resists dust and water jets, not immersion. No swimming, no saltwater.
Check these before you order: see the warranty and refund policy.